Building an Acoustic Guitar                                                                            

Home  Follow Along  Tools and Tool Construction  Construction  Videos  Leave Comments  Index  Links

Thickness Sander

Page 5
Page 1 2 3 4 5 6 7 8 9

Thickness Sander Parts Layout
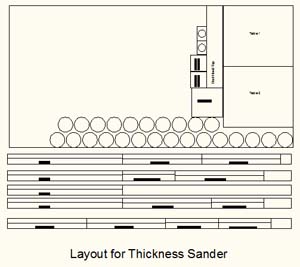
Each of the wood parts for the thickness sander are layed out in AutoCad to make the most efficient use of wood and help control costs.
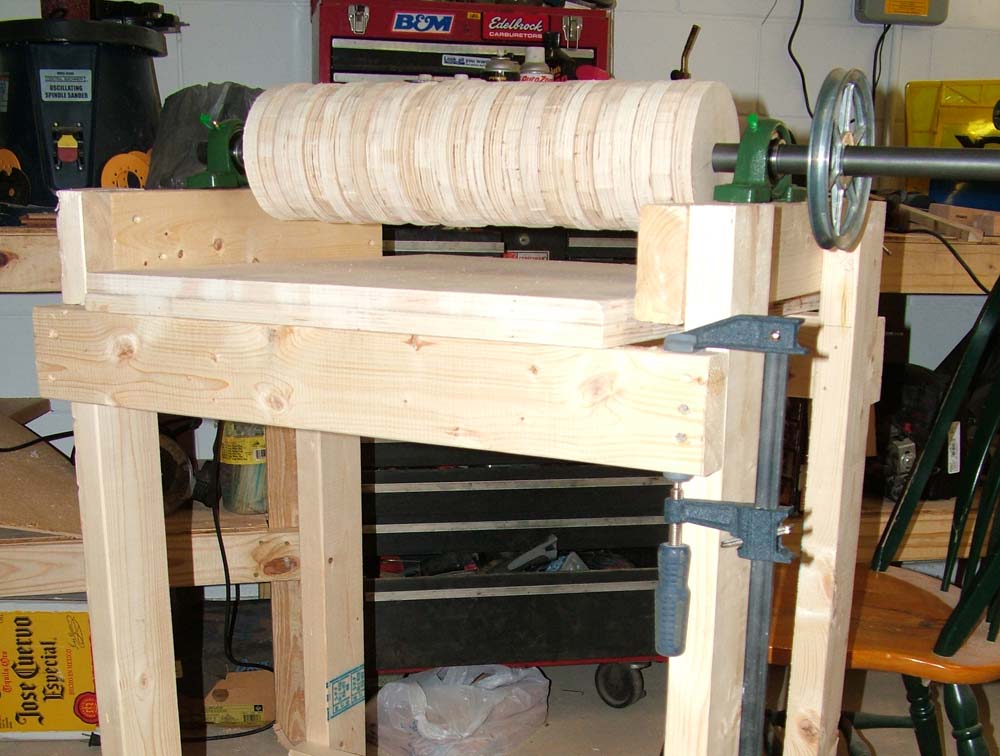
Here is the frame for the sander with the drum, shaft, bearings and pulley laid in place.
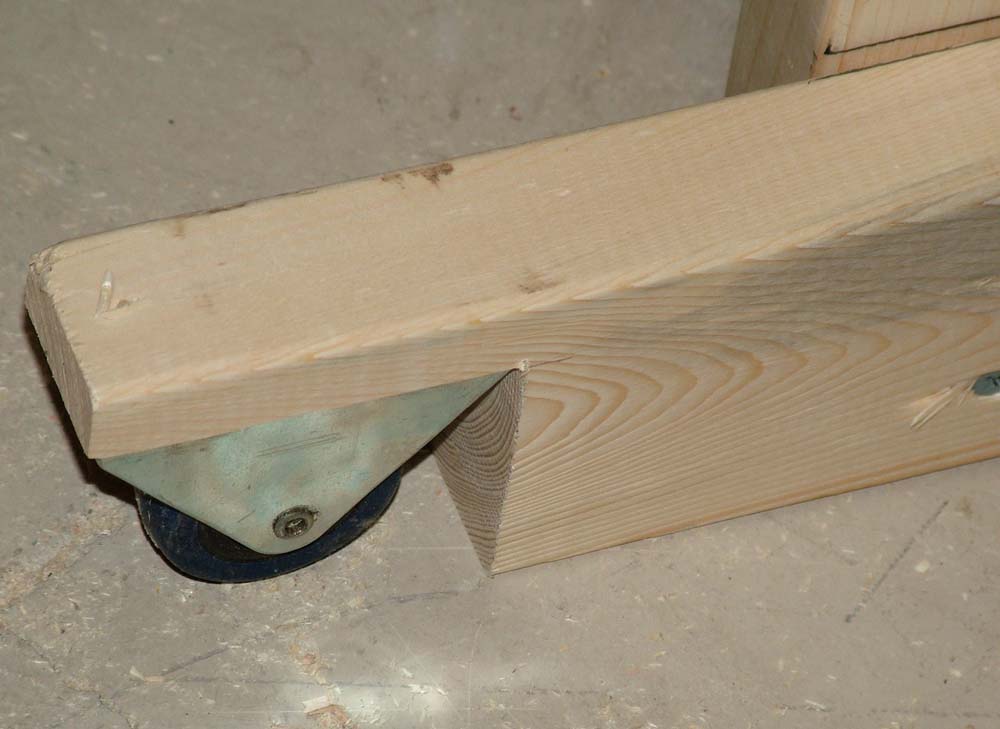
One of the screws broke one of the 2x4's that is why I have the clamp on gluing the wood back together.
I added horizontal stabilizers to the sander with wheels. The wheels will make moving the sander much easier.
Another view of the sander.

I got out today and built the frame for the thickness sander. I added the horizontal leg stabilizers and the wheels to make moving the sander easier. I laid the parts out in Autocad to save money when cutting 2x4's as you can see below. I used 2 1/2" wood screws and my electric drill to put the frame together.


I still have a few things to do to complete the sander.

  1. Finish the table and add a small piece of metal where the adjustment screw will make contact with it.
  2. Make the mounting board for the motor.
  3. Mount the bearings and pulley.
  4. Trim the shaft to size.
  5. Drill hole for and insert adjustment bolt.
  6. Make the dust hood
  7. Add on/off switch and wire the sander.
  8. Add laminate flooring to the sanding table.