Thickness Sander
Page 8
Page 1 2 3 4 5 6 7 8 9
I got the motor mounted and the sander wired. The sanding drum is installed and I just need to finish the dust hood and put laminate flooring on the sanding table.
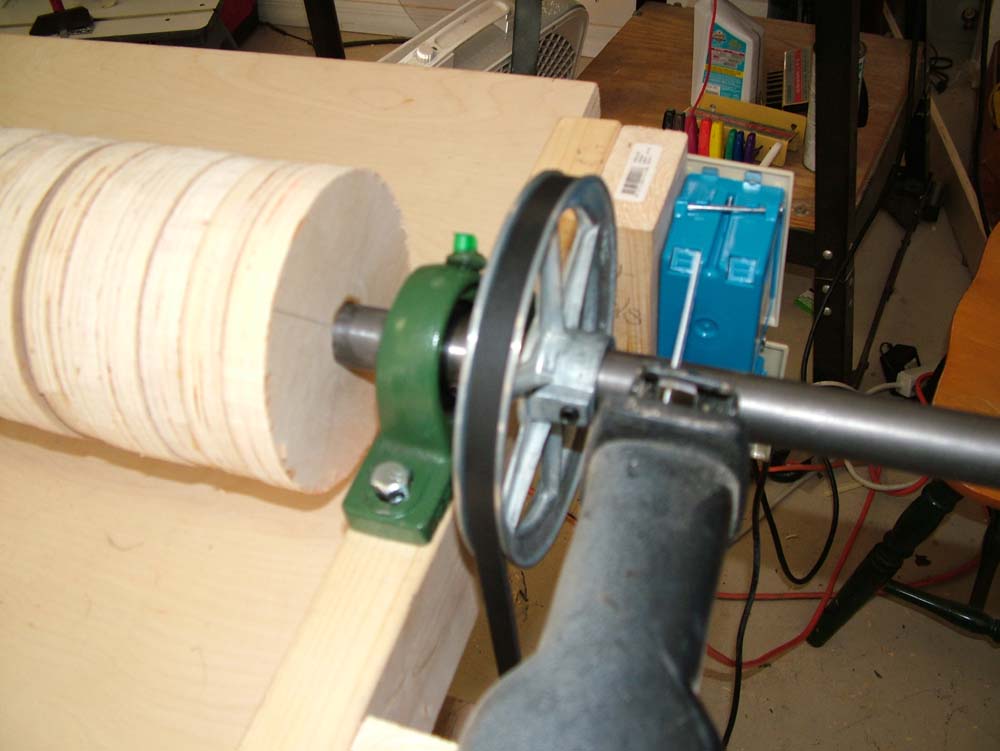
I had originally used some clothe medical tape on the drum shaft because the holes in the disks were too big for the drum's shaft. After I glued the disks together, they fit much better and it was too tight a fit with the tape so I took it all off. Five 3/4" disks are glued together making five sets of five disks. Two of those sets were pretty snug on the shaft and three spun freely. That would be okay with the Velcro wrapped around all five sets but I had to "true up" the disks first so each set had to be tight on the shaft. To remedy this, I cleaned the shaft with electrical contact cleaner and smeared epoxy on the shaft and slid the disk assemblies in place and let the epoxy cure. This worked out very well.
Once I got the motor running, I needed to trim the drum shaft. I needed a 26" shaft but found one that was 30" long. I took my reciprocating saw with a fine tooth blade and used it on the shaft while it was turning. It didn't cut very well so I took my hack saw and used it while the shaft was spinning. This shaft is some hard, hard steel! I finally cut through it and then took a file and dressed up the end a bit.
A word on finding a shaft. I found some air conditioner shafts that were solid steel and everything I found was going to have to be cut to size. Obviously it would be harder to cut a solid piece of steel but believe it or not, a steel tube is stronger than a solid piece of steel. I'm not sure at what size of wall thickness this ceases to be true but the shaft I am using is very strong and I am positive I will not have any problems with it losing its shape.
|
|
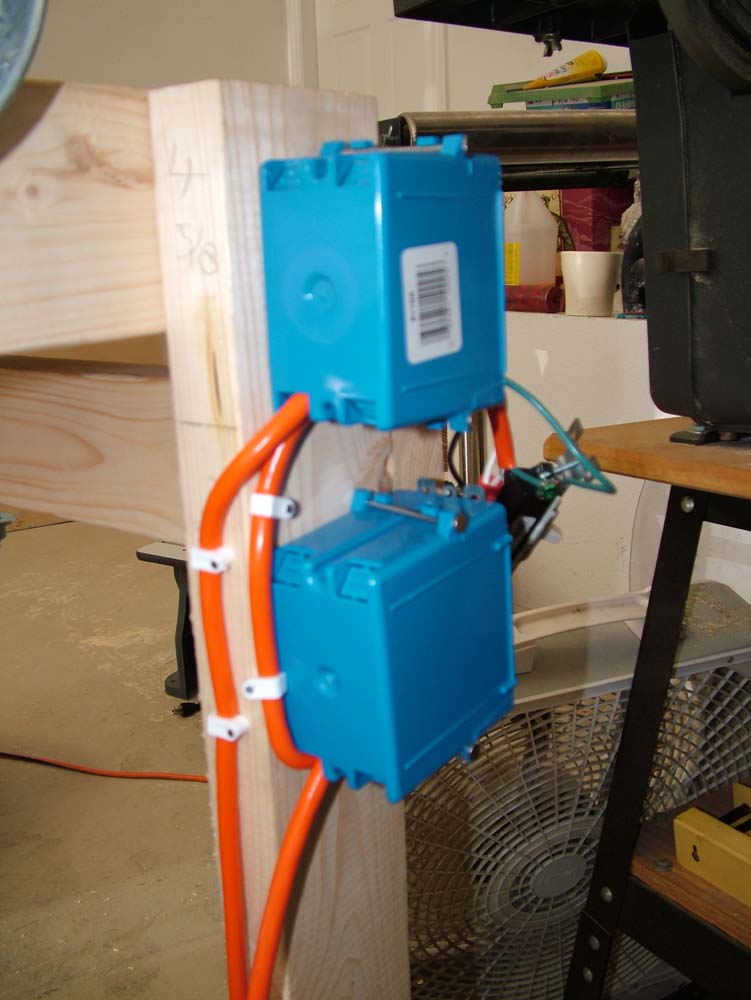
In addition to the on/off switch, I added an auxiliary plug.
. |
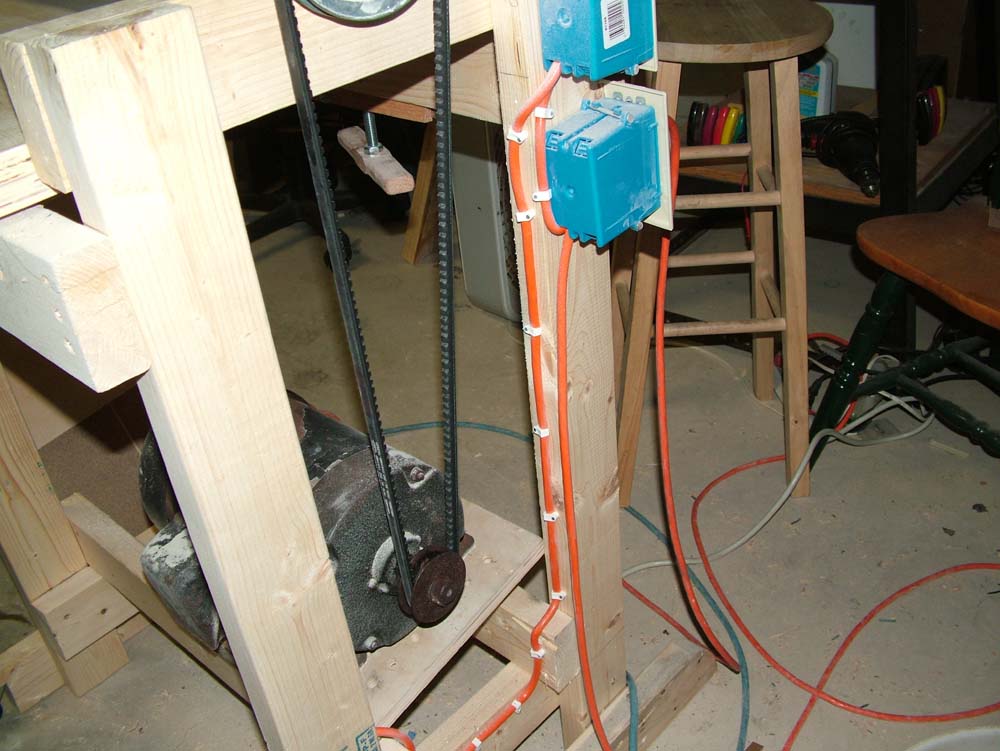
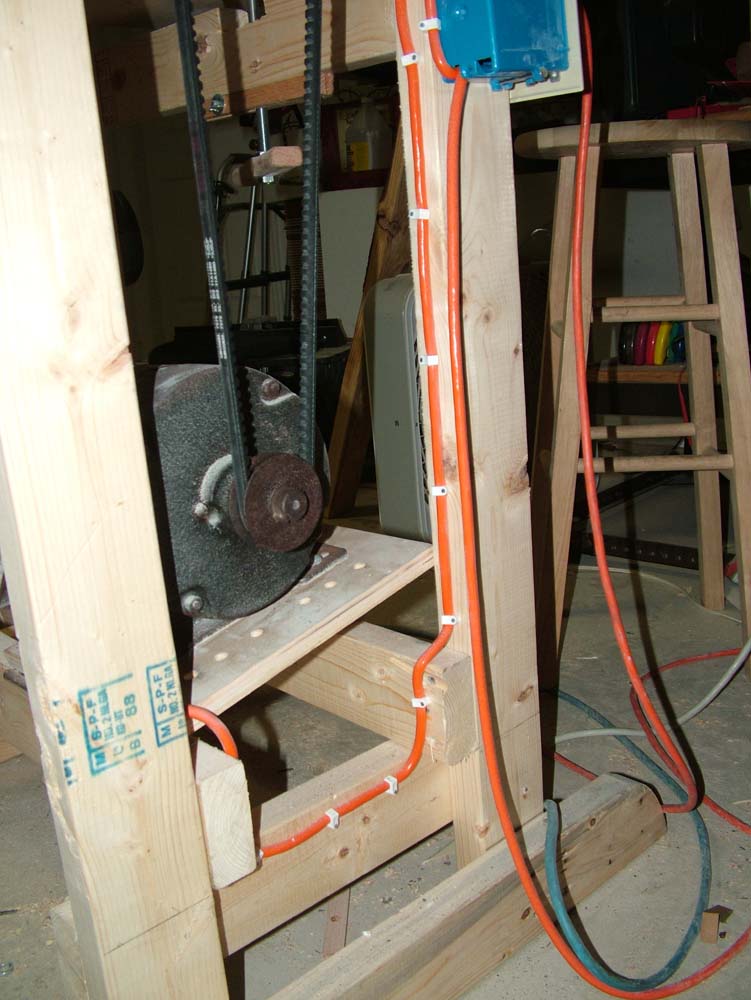
I used plastic clips I bought at Lowes to route the electric cable on the sander. It sure makes for a neat installation. |
|
|
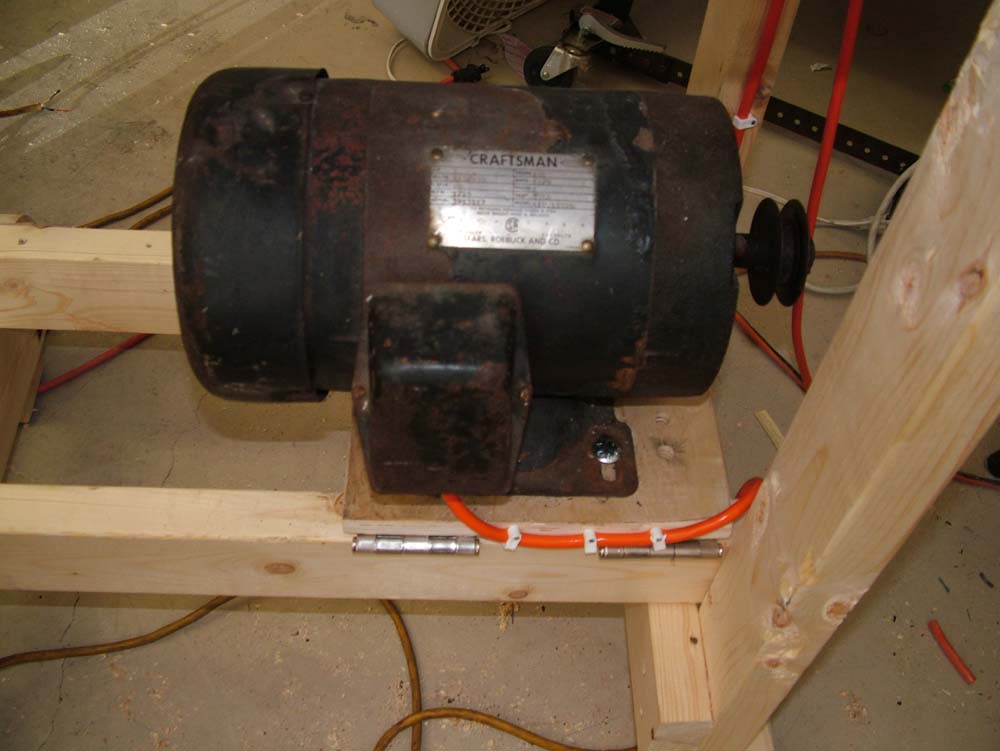
Another view of how I routed the wiring to the motor. |
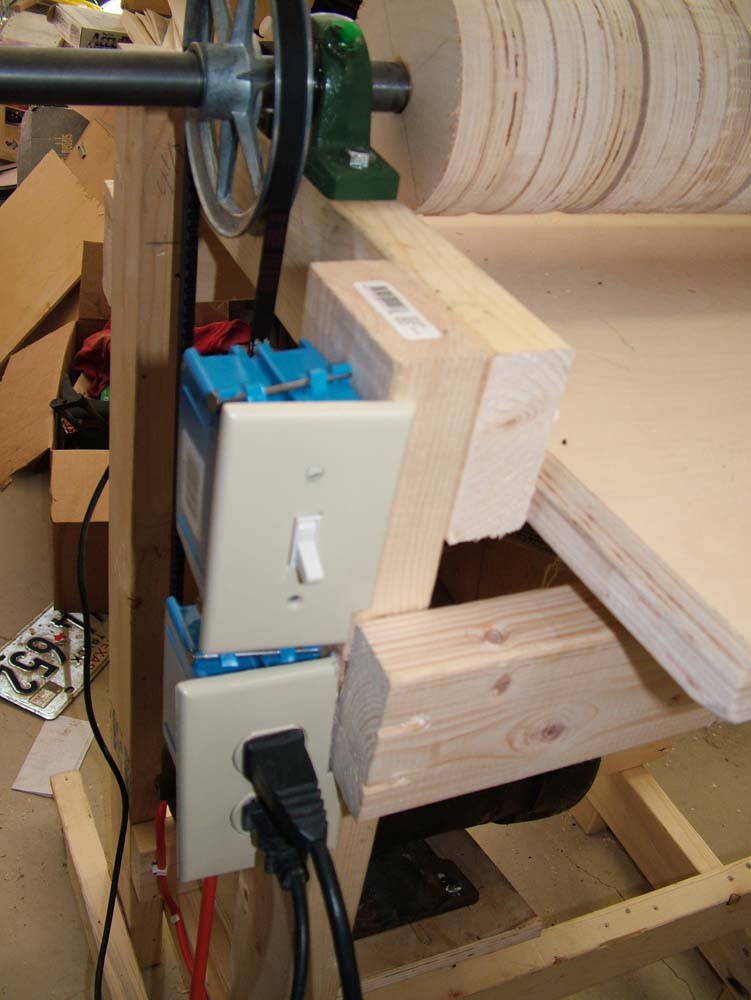
A view of the on/off switch and the auxiliary plug. |
|
|
I started out trying to use my reciprocating saw to cut the excess tubing but eventually used my hack saw. I just held it in place while the motor turned the shaft. |
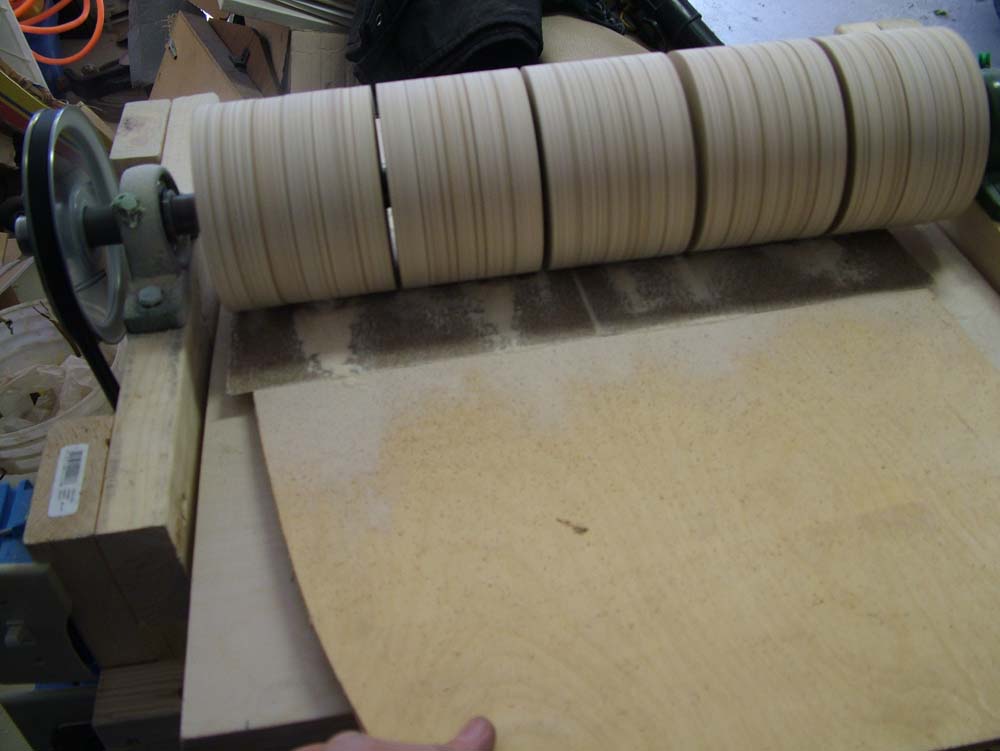
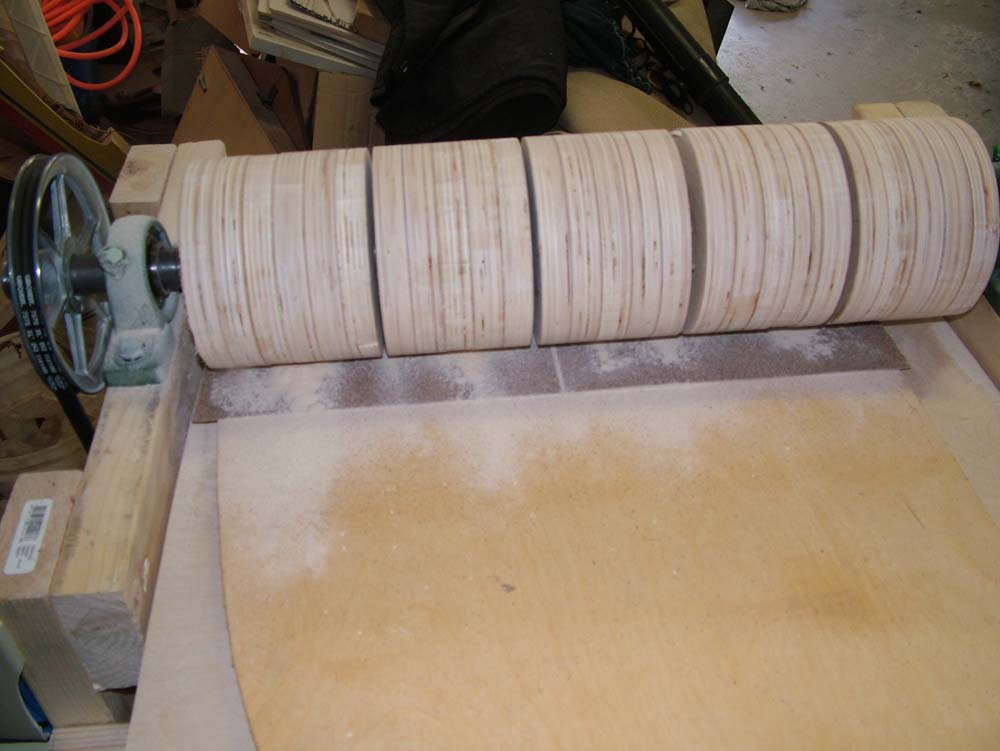
To "true up" the disks, I used two pieces of very course sand paper glued to a piece of 1/4" plywood. |
|
|
It takes quite awhile and some patience to get all the disks to exactly the same shape. |
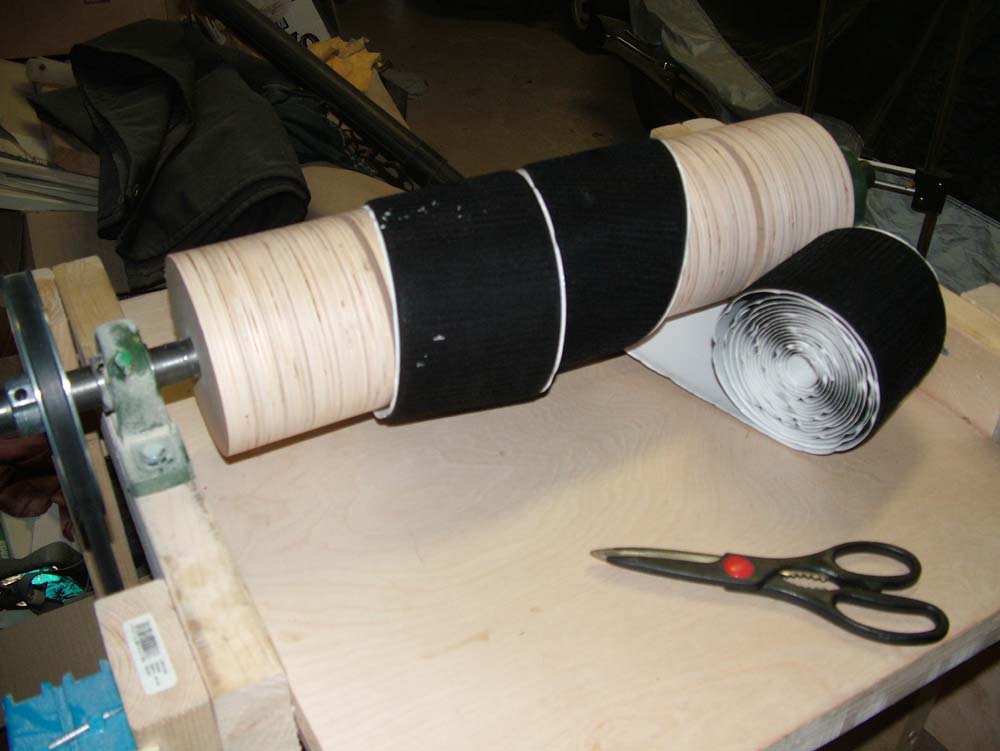
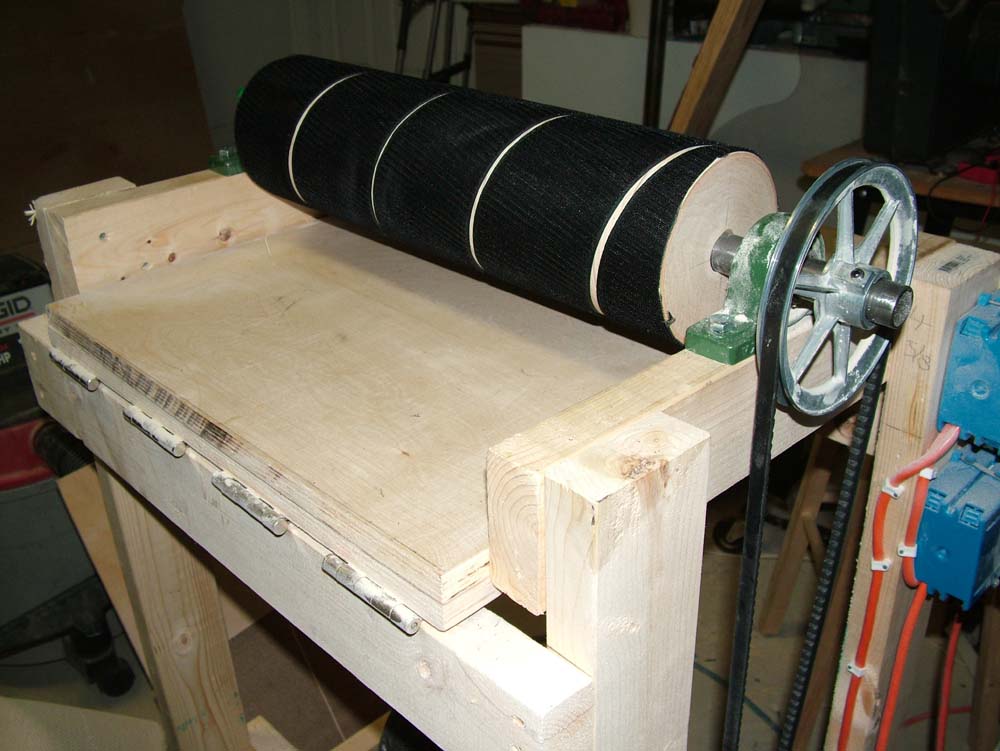
Here I am rolling out the 4" Velcro mat that will adhere to the sanding drum. |
|
|
When the Velcro mat is on, it looks pretty cool and tells me I am almost finished! |
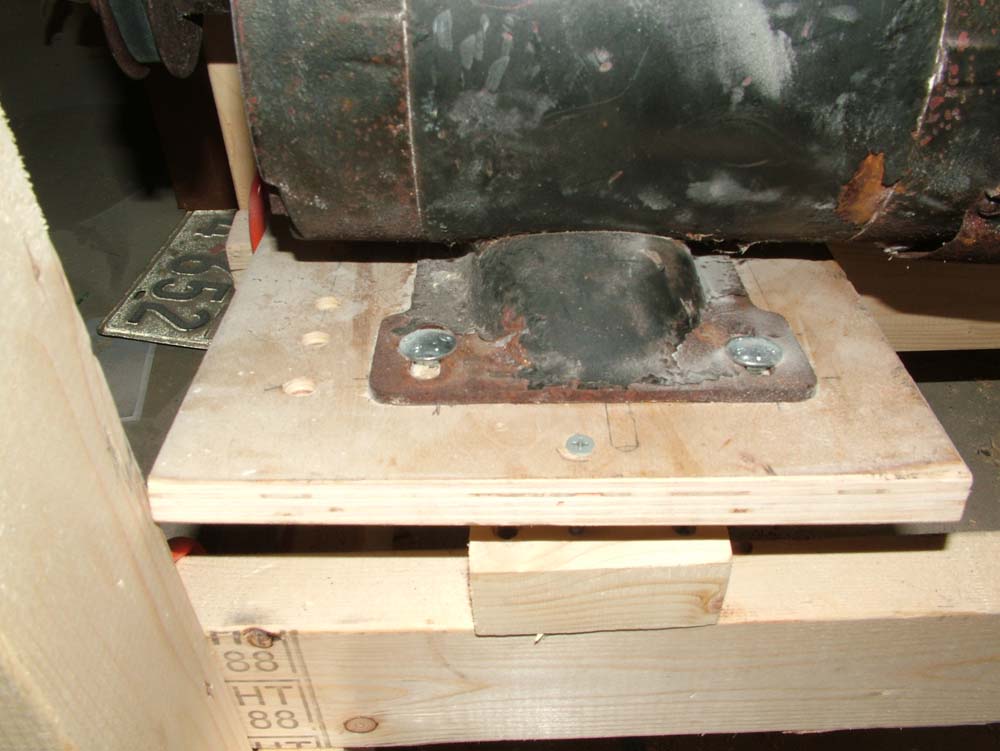
According to the plans, I put a wood screw through the motor mount and into a block of wood to keep the motor's vibration to a minimun. |
|
|
| The motor doesn't look great but it runs very well and only cost me $45! |
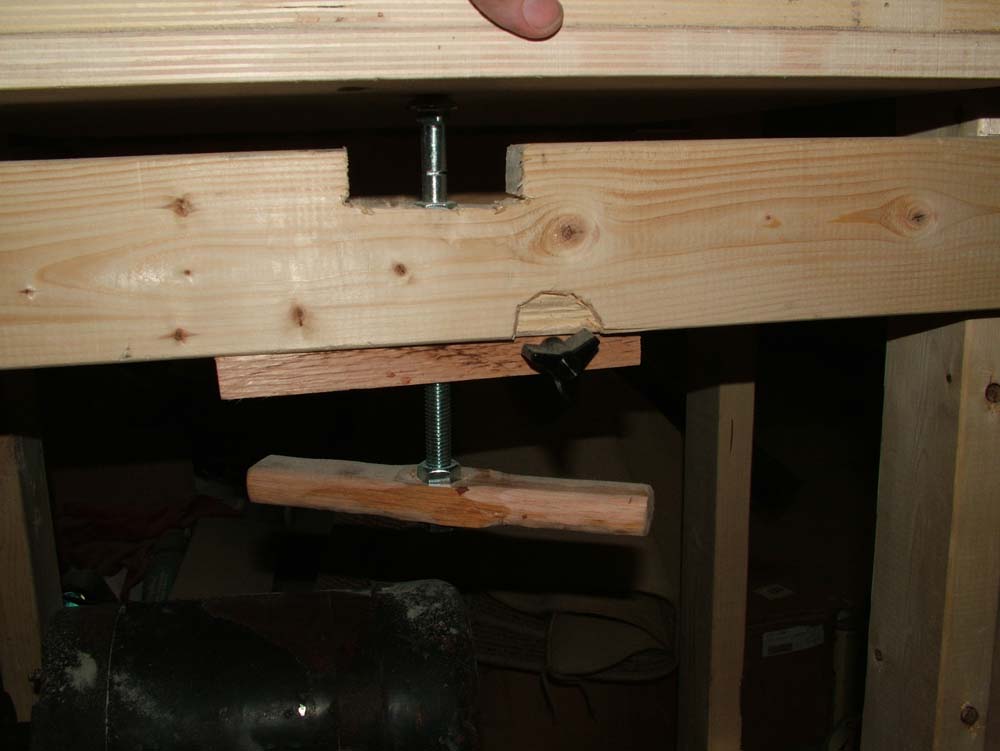
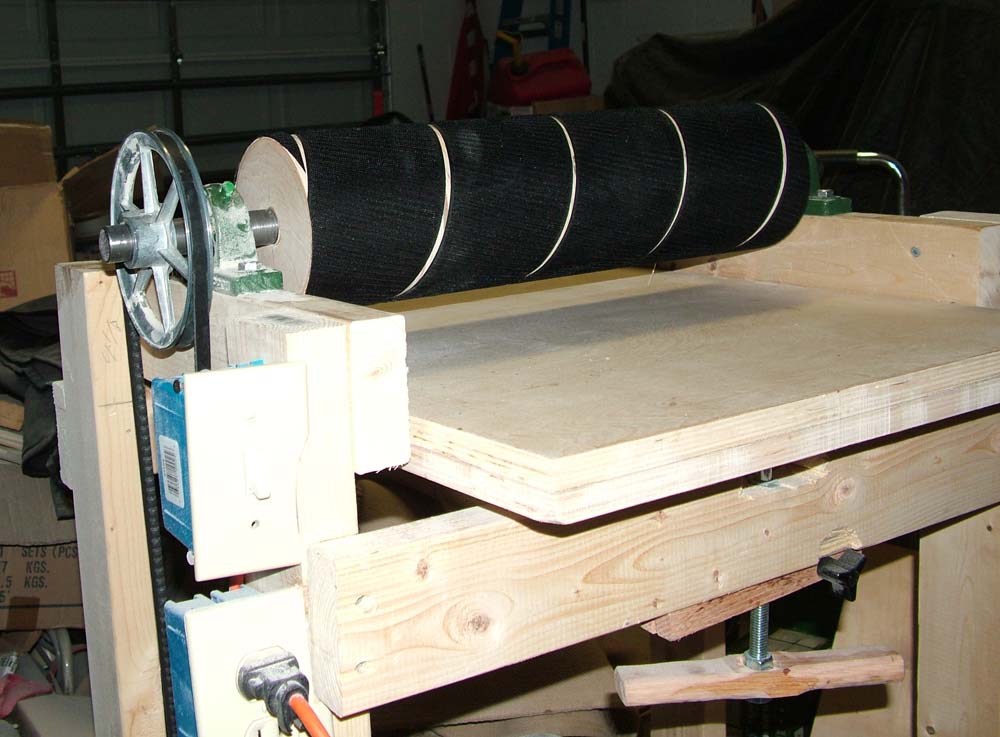
I used an 8" carriage bold with the head under the table for the table height adjustment screw. I also use another piece of wood with a knob to clamp down on the adjustment screw so it won't slip while I am sanding. |
|
|
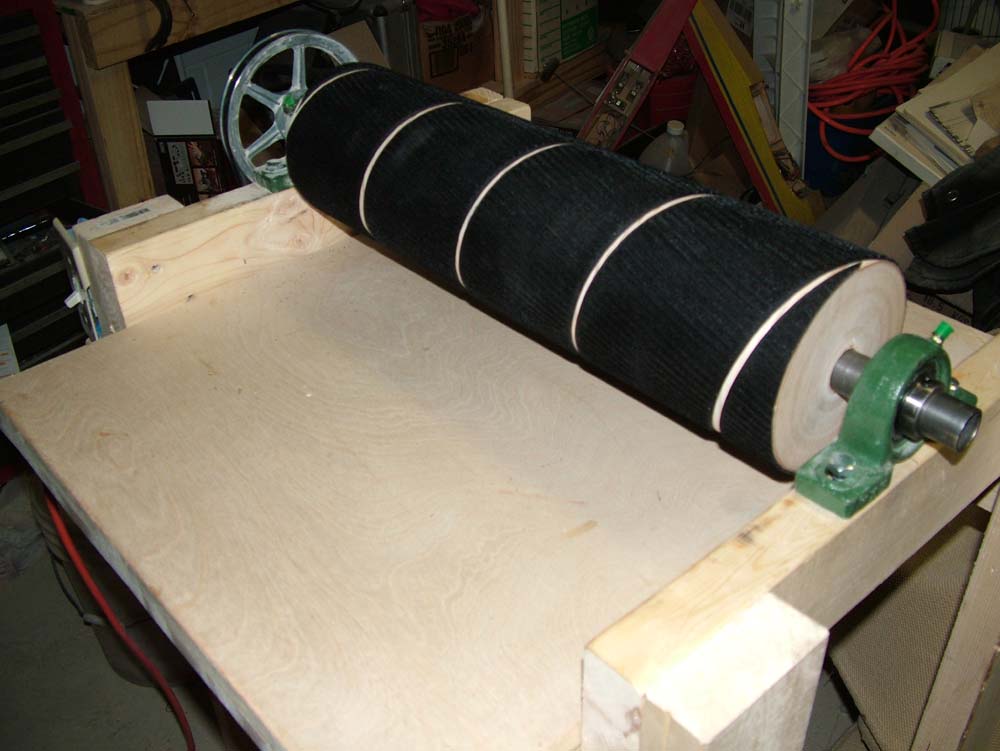
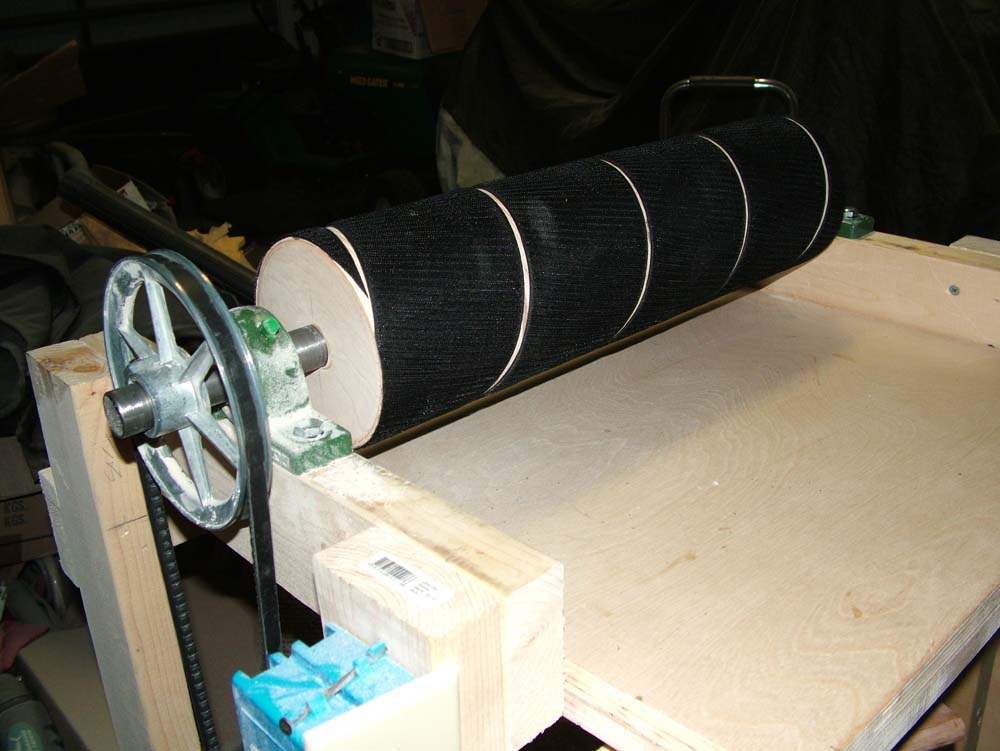
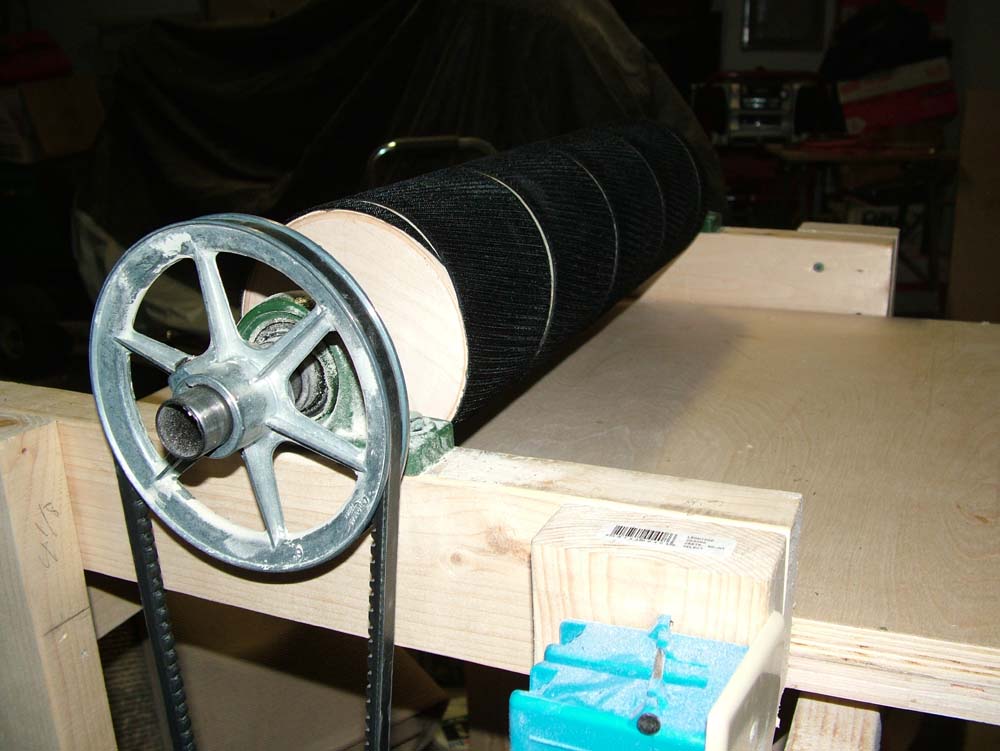
The finished drum without sandpaper. |
Another view of the finished drum. |
|
|
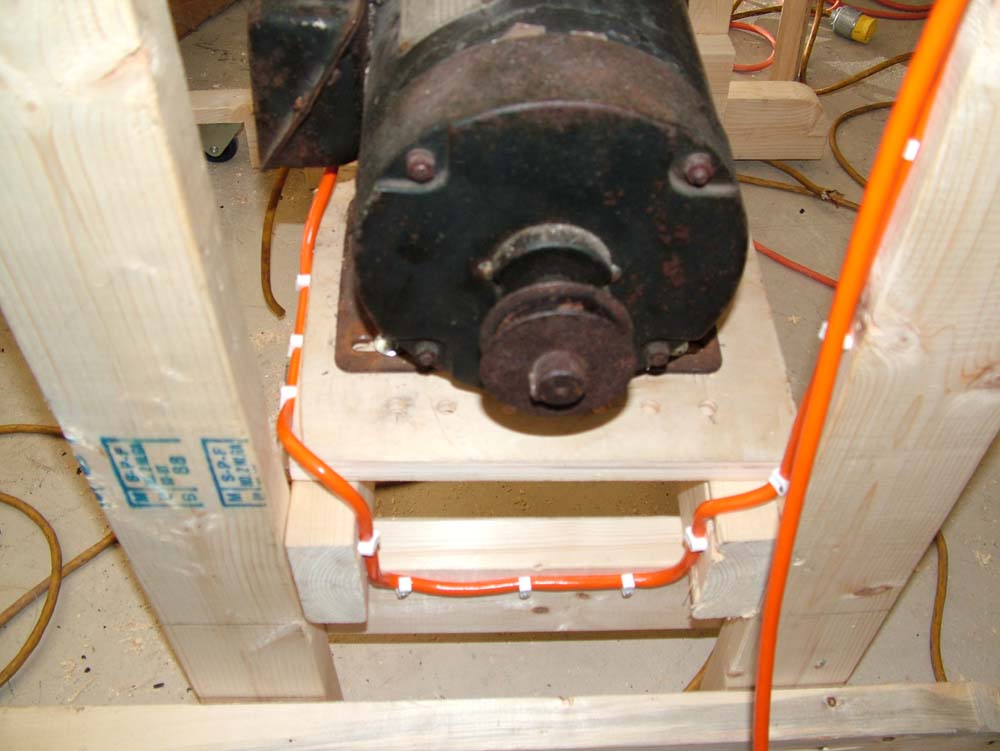
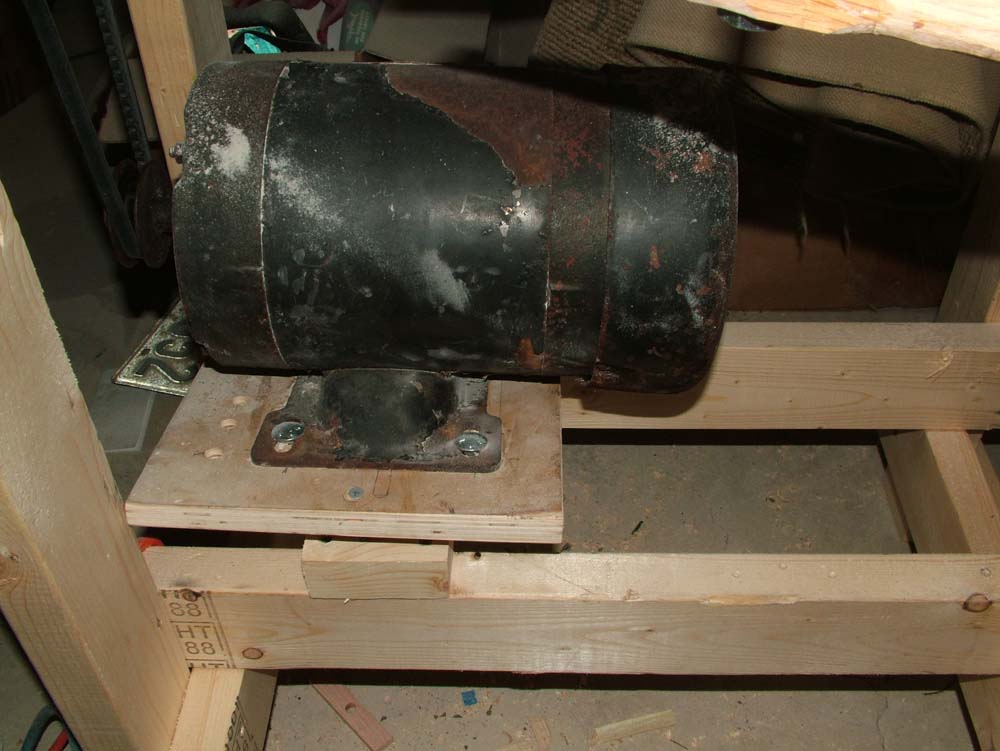
Here you can see how the weight of the motor keeps the belt tight. |
Another view of the finished sanding drum with Velcro attached. |
|
|
Another view of the wiring and motor installation. |
A view of the back of the sander. You can see sanding dust on the hinges. |
Next, I took the adhesive backed Velcro mat and attached it to the sanding drum. I ordered it from Woodmaster Tools, Inc. They offer different lengths in 4" widths. I wasn't sure how to determine how much Velcro mat I needed and I emailed Mr. Hawley. I thought and thought about it but couldn't figure it out. The answer is very simple. Calculate the area of the size of the drum by multiplying the radius of the drum x pi (3.1416) x the length of the drum. This will give you the square inches of material you need, then divide that by 4 since the Velcro mat comes in 4" widths.
Drum Radius X 3.1416 X Drum Length
Width of the Velcro mat
2.5" X 3.1416 X 26
4
Using this formula, you need just over 51 inches of 4" wide Velcro mat plus the material that will be trimmed on the ends. When I calculated it, I used diameter instead of radius. and I ordered extra just to make sure I had enough. Well, I ended up with more than double what I needed. I ordered 194" which is way too much but I can use it for sanding blocks and other things.
I ordered a roll of 150 grit and a roll of 220 grit Velcro backed sandpaper in 4 1/2" widths and 10 yard lengths from Online Industrial Supply. This should be more than enough sandpaper to build a guitar. I'm very excited to think that I will be working on the actual guitar very soon.
I am going to build a five piece neck for my guitar using sapele and hard maple. When I get the sandpaper for the thickness sander, I will resaw the pieces of hard maple I have down to just over a quarter inch. Then I'll sand it down to the final thickness. Then I'll cut all the pieces to the rough shapes and glue and clamp them together. Following that there will be a lot of sanding and shaping!
If I get a chance to work in the garage tomorrow, I'll build the dust hood. I also need to find about two square feet of laminate flooring to put on top of the table. I will call some of the companies that install flooring and see if they have some scap. If not, I can cut a piece of 1/2" ply wood, then fill it with a sanding sealer and paint it. After painting and wet sanding, I'll wax it so it has a slick finish to make it easier to slide wood into the sander.
|